How to make a great video on your phone

Do you Want to know how to make a great video on your smartphone?

We have you covered!

If you are not ready to either invest in professional equipment or pay for professional video marketing services, don’t worry! We are here to teach you how to make a great video on your smartphone. Yes! It is possible to create professional-looking videos using nothing more than your smartphone. Before you press that “Record” button, however, there are some steps you should take to ensure your smartphone video is of the highest quality.how to make a great video on your smartphone

Step 1 To Making A Great Video: Adjust your Smartphone Camera Settings

The first step is to adjust the Settings of your phone (or your phone camera) to record video at the highest quality possible. Nowadays, most phones have the capability to record video in 4K, but this setting is almost never switched on. There is a good reason for this. Your phone is set to shoot at a lower quality than it is capable of because if best quality were the default setting, you would soon run out of storage. But for a professional video, it’s worth flipping that switch. Remember: the more frames per second (fps), the better the resolution of your video!

Step 2 To Making A Great Video: Position Your Smartphone Correctly

The second most important factor in shooting an amazing video, is the position of your phone camera. 

If it is placed too low, your subject will get a double chin and the viewer will get an eyeful of nostril. If you place the camera too high, you will greatly reduce the authority of your subject as the viewer will be looking down on them.  The best position is slightly higher than the eyes. 

 Another important point when positioning your camera is distance from you subject. You don’t want to place the phone camera too far away, as this will negatively affect the quality of the sound as well as make your subject look unimportant. However, be aware that the fish-eye lens on your phone camera will distort the face of your subject, over-emphasising features closest to the lens. 

Usually the wrong camera will end up distorting the nose and the forehead. But if you get the position very wrong, you could end up enlarging your chin!

Remember! You can control how you come across in a video simply by adjusting the position of your camera.

Example of the effects of a bad camera angle

Step 3 To Making A Great Video: Choose a Location with the Best Lighting

Example of a badly lit portrait photo

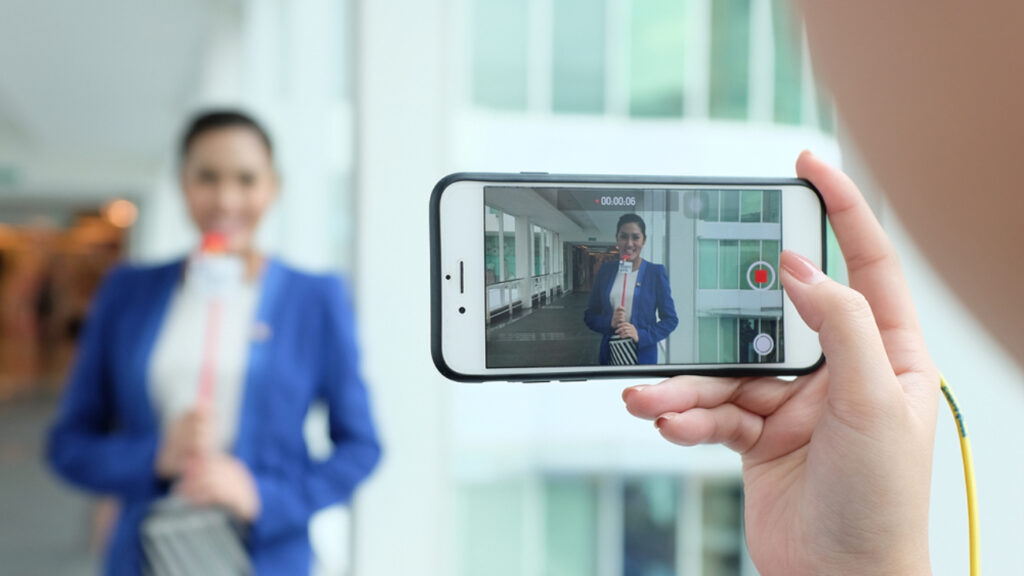
Equally important to the quality of your video is the light. Generally speaking, more light, is better. Your subject, whether it is you or someone else, should be well lit. If you have to choose between good light or an interesting background, always choose good light. Your viewers will be focused on your subject’s face, not the background. 

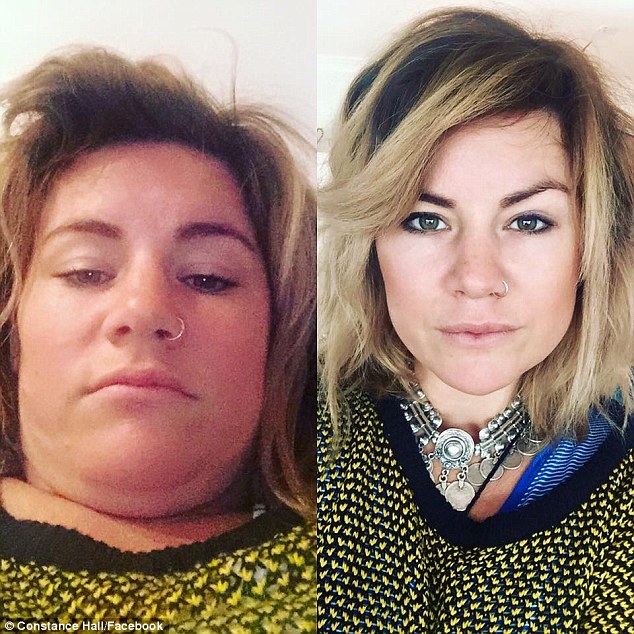
But where the light is coming from is also very important. Remember holding a flashlight under your chin as a child whilst telling scary stories? Light can make a dramatic difference to how your subject looks. Bad light can make a face look harsh, saggy, wrinkled and grey. 

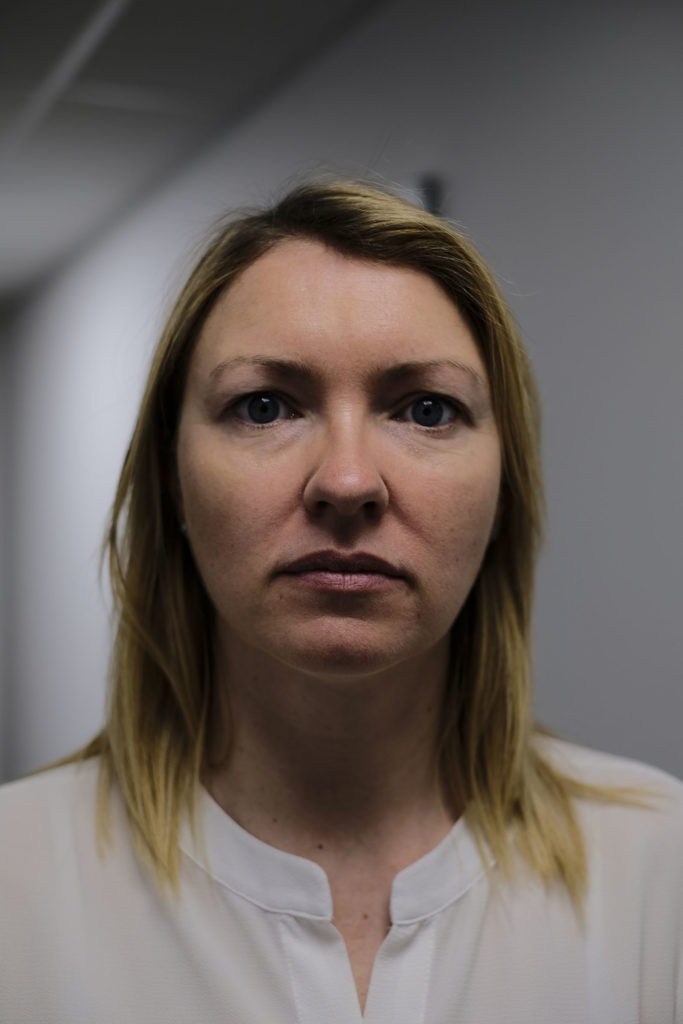
  • If your subject is backlit, their face will be dark – almost in silhoutte.
  • If they are under direct light, they will squint and their face will look very harshly lit.
  • If the light is overhead, they will have bags under the eyes and deeper lines on their face.
  • If the light source is fluorescent light, change location – there is a reason nobody looks good in an elevator mirror.

The best lighting conditions involve being surrounded by loads of natural light that comes from the sides. For best lighting conditions, try filming in daylight near a window or under a tree or on a covered veranda.

Find out more about how to use lighting correctly when shooting with a camerea in this great article by CreativeLive.

Remember! Great lighting makes great video. 

Step 4 To Making A Great Video: Pay Attention to the Audio Quality

Many amateur videographers also underestimate the importance of audio. The quality of your audio is as important as the quality of the picture. In fact, studies show that viewers will tolerate a poor quality visuals for much longer than poor quality audio. If you sound as though you are talking to your viewers from the bottom of a well, they switch off the video almost immediately. 

The closer you are to the subject, the better the audio. But if you’re using the built-in microphone on your phone, it’s less adept at filtering out background noise. So, make sure you choose a quiet location with no washing machines, barking dogs, chattering colleagues, power drills or traffic. Do also be aware that it’s all too easy to accidentally cover the microphone when shooting video with a phone. If that happens, the subject will sound muffled and it will be next to impossible to understand what they are trying to say. 

 Remember! You can’t communicate with your viewers if they can’t hear a word you are saying. 

Step 5: Keep the Position of Your Camera Phone Steady To Making A Great Video

Last but not least is stability. The person shooting the video should use two hands and keep their elbows in. 

Propping up your phone against a flat surface is even better, as long the microphone is facing up. 

But even better than propping up your phone  is a smartphone tripod. They are very inexpensive and they will raise the quality of your video tenfold – and free your hands. 

Remember! Shaky camera work makes viewers feel motion sick. 

Using a mini smartphone tripod for stability

So there you go! Get these basics right, and you will be well on your way to producing much more professional looking videos for your business, using nothing more than your smartphone. Do you want to know which 5 videos you need to build your brand? Read this article next!